Introduction
A fun, 2-LED paper craft tractor project referencing the book titled Oscar and the Bird: A Book About Electricity by Geoff Waring.
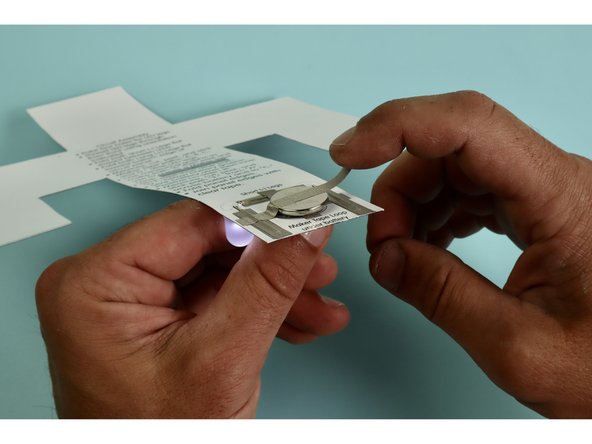
The headlights light up!
You can make this project (and many more!) with our Paper Circuits Kit.
Featured Document
-
-
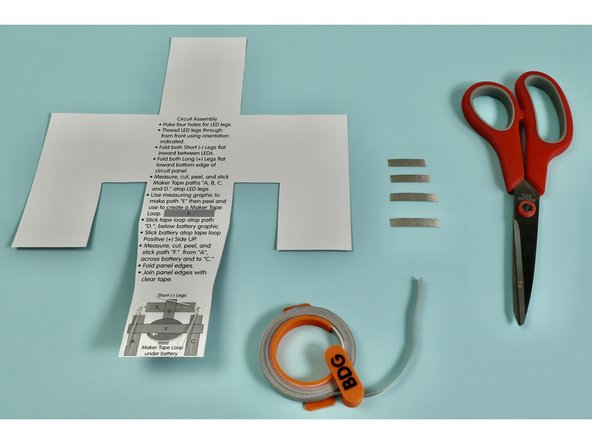
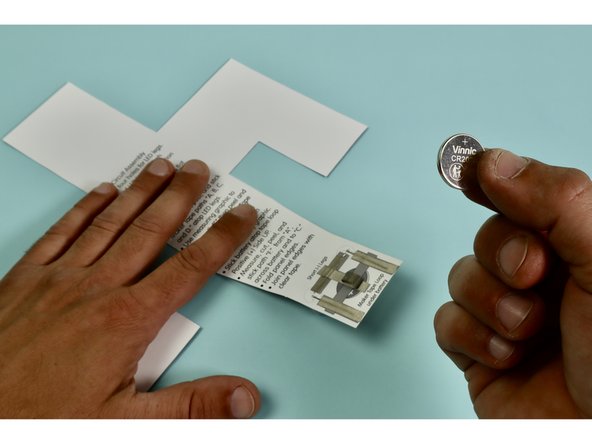
Gather the materials and tools indicated.
-
There is a black and white version and a color version of the template. We recommend printing this template on heavy cardstock.
-
-
-
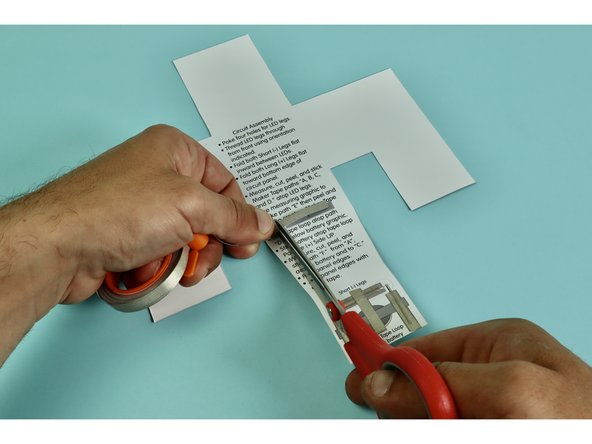
Cut out the 4 wheels and the tractor body.
-
If using the black and white template, color the tractor.
-
-
-
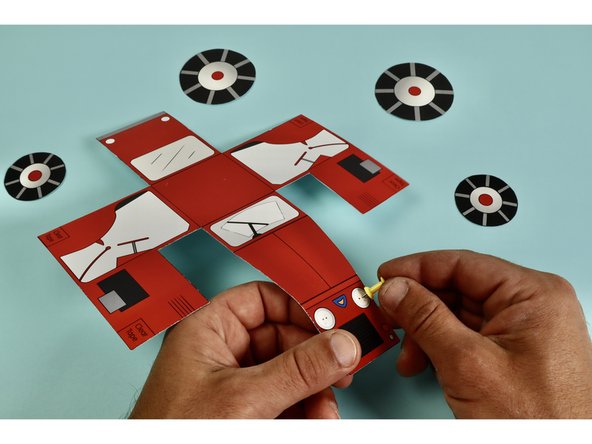
Using a push pin poke holes through the front of the tractor where the LEDs will go.
-
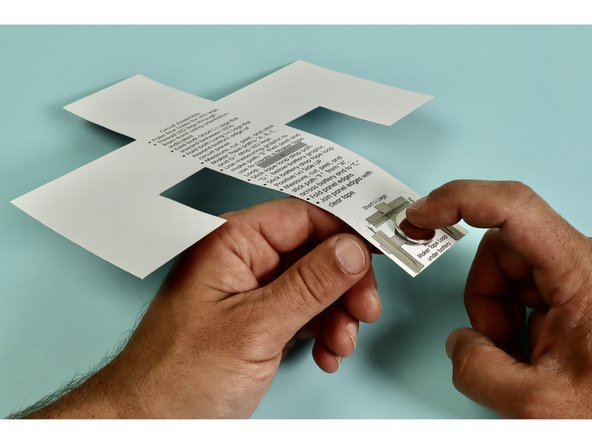
Insert the LEDs making sure to orient the legs properly.
-
The Long LED Leg is Positive and needs to go in the hole labeled with +. The Short LED Leg is Negative and needs to go in the hole labeled -.
-
-
-
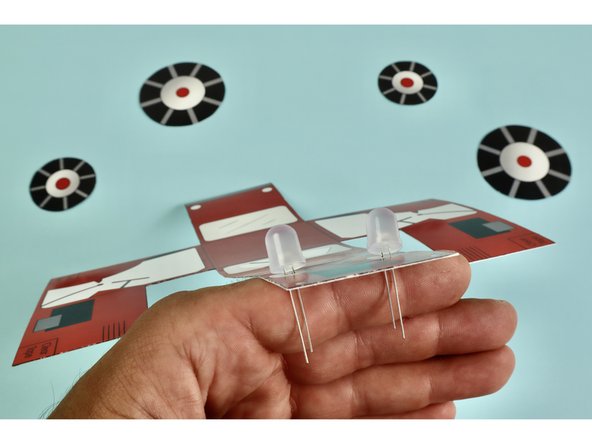
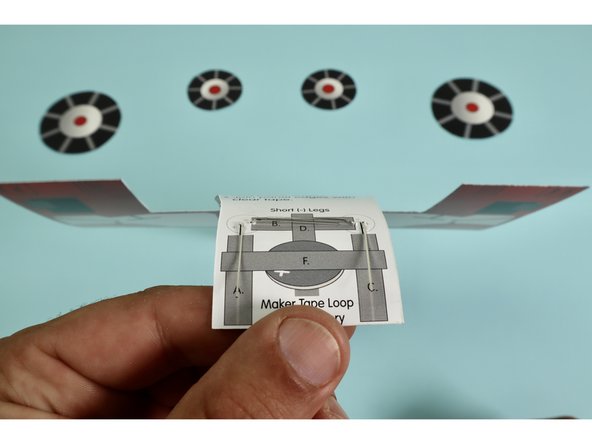
Flip over the tractor and bend the LED legs flat against the paper. Make sure to align the LED legs with the diagram on the back.
-
-
-
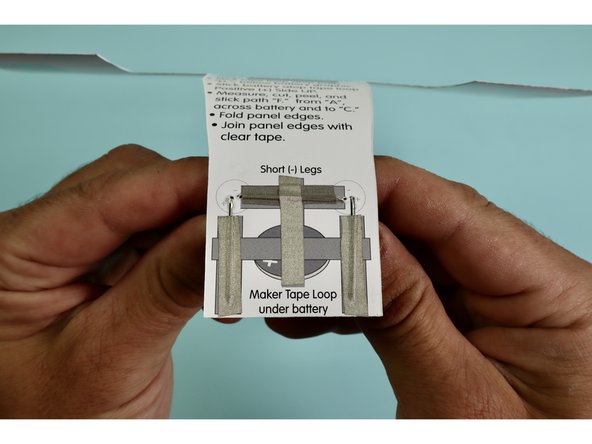
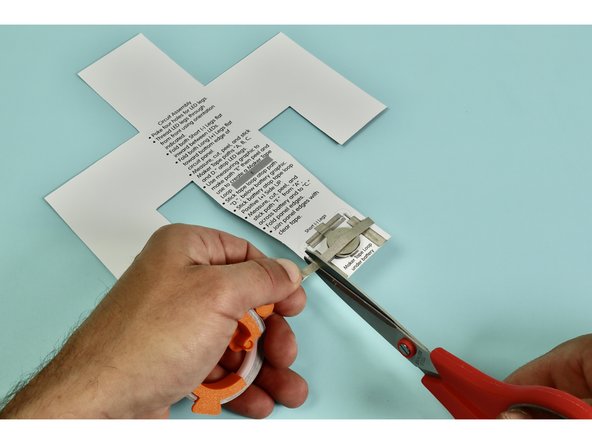
Measure and cut Maker Tape Paths "A, B, C, and D" using the diagram as your reference.
-
-
-
Measure, cut, peel, and stick a piece of Maker Tape down as indicated atop the letter 'A.'
-
The tape should hold down one of the Long LED Legs so it makes the electrical connection for our circuit.
-
Measure, cut, peel, and stick a piece of Maker Tape down as indicated atop the letter 'B.'
-
The tape should hold down both Short LED Legs so it makes the electrical connection for our circuit.
-
Measure, cut, peel, and stick a piece of Maker Tape down as indicated atop the letter 'C.'
-
The tape should hold down the other Long LED Leg so it makes the electrical connection for our circuit.
-
Measure, cut, peel, and stick a piece of Maker Tape down as indicated atop the letter 'D.'
-
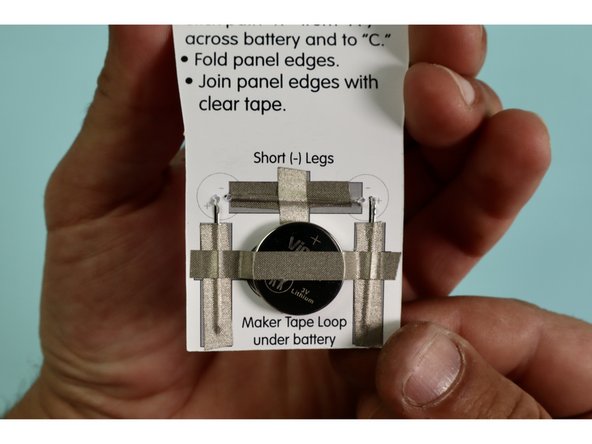
This tape path should overlap path 'B.' and end underneath the Battery. This connects the Negative side of the battery to the Negative LED legs of the circuit.
-
-
-
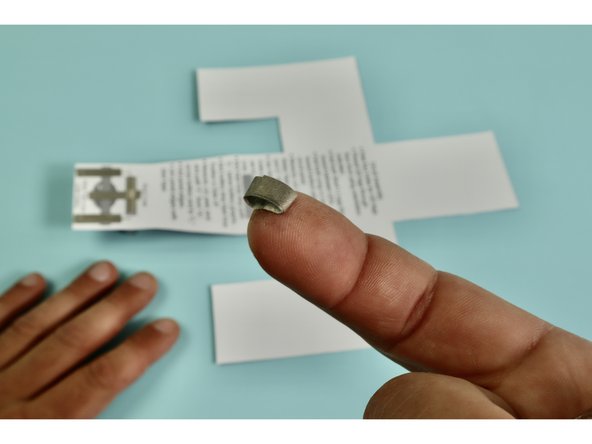
Use Maker Tape to create a Tape Loop (with the sticky side facing out) and stick it down at the bottom of tape path 'D.'
-
If the Tape Loop is too large it may short out the battery.
-
Stick the Battery atop the Tape Loop ‘E.’ with the Positive (+) side up.
-
The Battery should stick down to the Maker Tape securely and the tape will hold it in place.
-
-
-
Install battery by pressing it into place atop the tape loop Positive (+) Side UP.
-
-
-
Measure, cut, peel, and stick a piece of Maker Tape down as indicated atop the letter 'F.'
-
This tape path will connect path 'A.', the Positive side of the battery, and path 'C.'
-
-
-
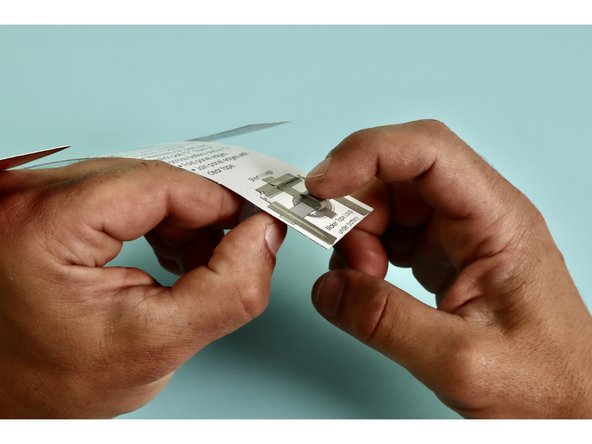
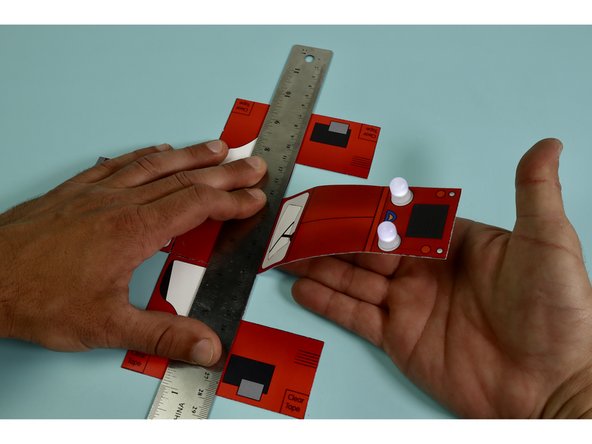
Fold the tractor so it matches the image.
-
Tip: Laying a ruler across an intended fold and using it to fold against is helpful in creating accurate folds.
-
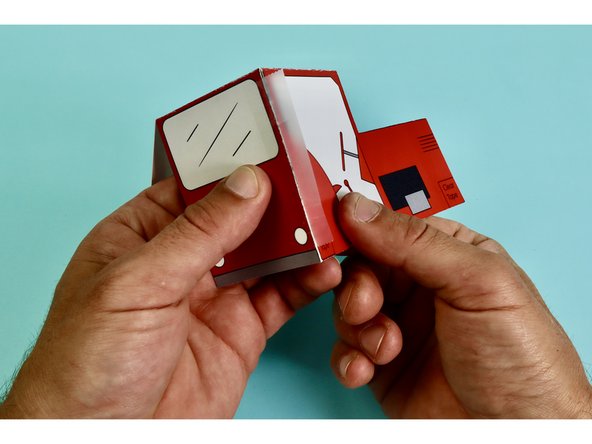
Use clear tape along the edges to keep the panels together.
-
-
-
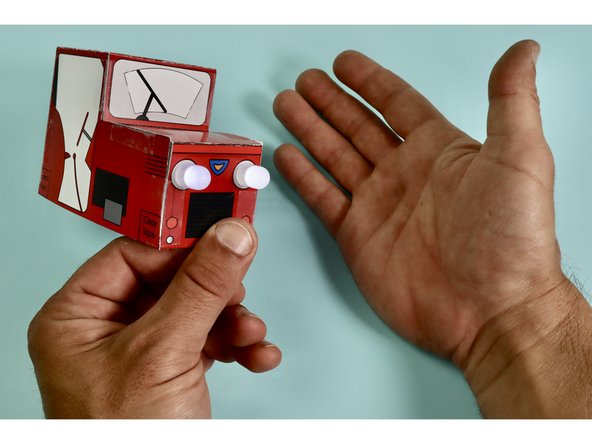
Your assembled tractor body should look like this and will have required 8 total pieces of tape.
-
-
-
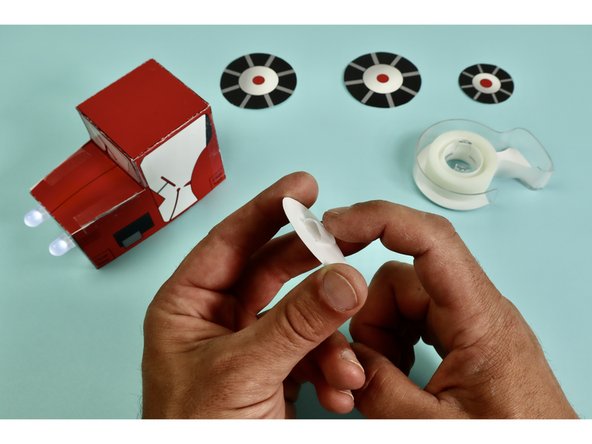
Using clear tape make a loop of tape on the back of the two large wheels. These wheels get attached to the back of the tractor where it says "clear tape."
-
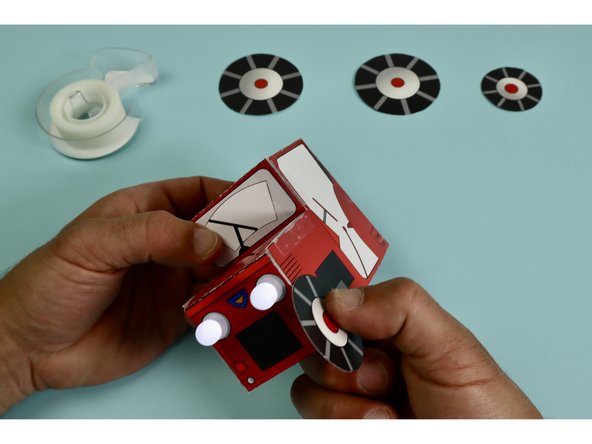
Make loops of clear tape for the two small wheels and attach them to the front of the tractor where it says "clear tape."
-
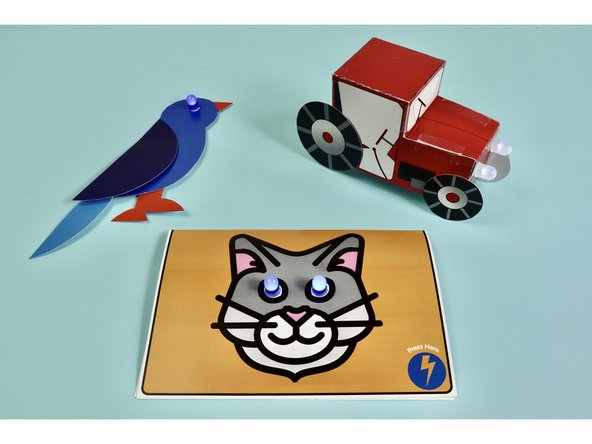
Congratulations! Your tractor is now complete.
-
-
-
Make more Oscar and the Bird themed projects! We've got more paper circuit activities to choose from.
-
-
-