Introduction
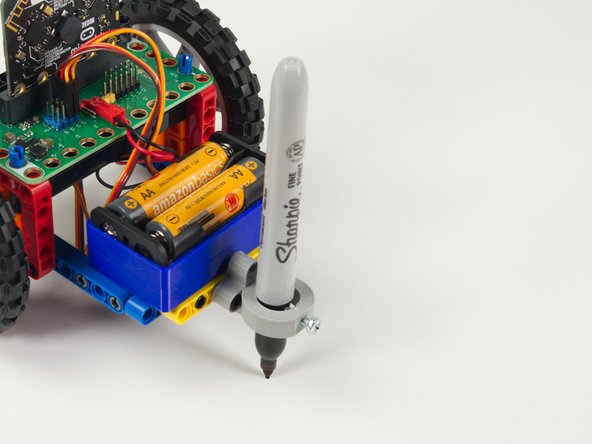
Turn your Rover into a drawing robot! Attach the Pen Holder and add a marker, pencil, pen, or crayon and get moving across a large piece of paper, cardboard, or even a whiteboard.
Tools
Parts
Video Overview
-
-
The Pen Holder attaches to the Rover using two black pins.
-
There are (at least) two options when mounting the Pen Holder to the Rover.
-
You can mount the Pen Holder on the front of the Rover. This is where we typically mount the Gripper, Lifter, and other accessories.
-
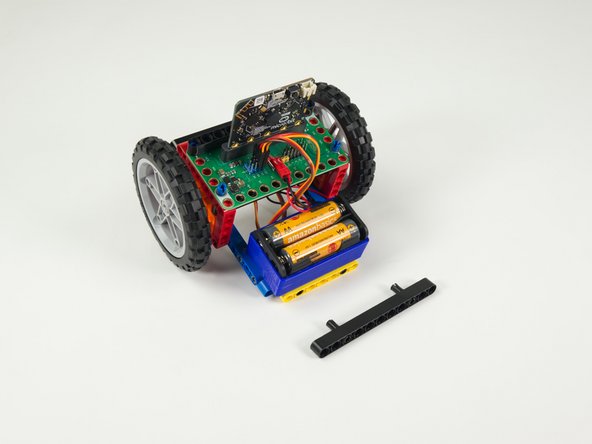
You can alternately mount the Pen Holder on the back of the Rover, replacing the gray caster wheel.
-
Each option has advantages. Mounting on the front it easier, but you may have issues with the pen making good contact with the drawing surface.
-
Mounting on the back makes the pen the "third wheel" and will apply more even pressure when drawing. The pen will create a wider radius when mounted on the back due to being mounted further from the center of the wheel base.
-
-
-
You can use any of the code that controls the Rover when the Pen Holder is attached.
-
We started with the code used in the Rover Main Body guide and made a few changes.
-
You could also Remotely Control the Rover and drive it around while drawing!
-
We recommend you keep the speed low! If you run the Rover too fast it may roll away quickly off of your paper! You don't want to mark up your table or floor.
-
-
-
While we used a black permanent marker used you can try colored pencils, crayons, or anything that leaves a mark on paper.
-
You can also us a dry erase marker and run the Rover on a whiteboard.
-
-
-
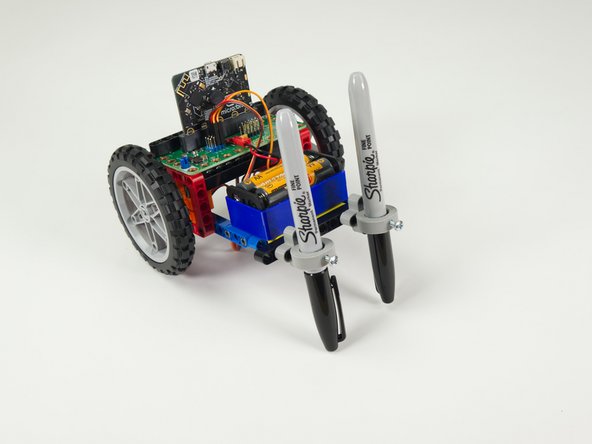
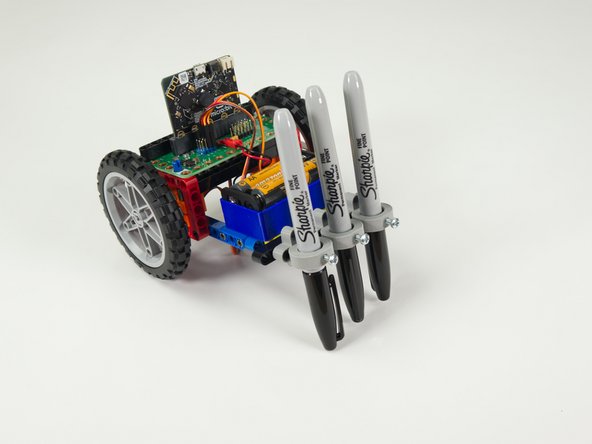
Why stop at one pen? If you have access to a 3D Printer you could make more Pen Holders and add a second, or even a third!
-
Remember, the Rover Kit encourages experimenting and trying new things. Build it, take it apart, and rebuilt it differently.
-


