Introduction
The files you find here can be used to print (or laser cut) your own pieces for our Rover Remote.
(We recommend 3mm acrylic for the laser cut version. You will need to cut two pieces and stack them.)
Tools
Parts
No parts specified.
-
-
You can download the file and print it on your own 3D Printer.
-
Find the file Rover-Remote-3D.stl in our GitHub repository: https://github.com/BrownDogGadgets/3D-Pr...
-
-
-
We've also got a laser cut version of the file. It consists of two pieces that get stacked. (The top piece has pockets for the bottom of the thumbsticks.)
-
Find the file Rover-Remote-LC.svg in our GitHub repository: https://github.com/BrownDogGadgets/3D-Pr...
-
For best results use 3mm material.
-
-
-
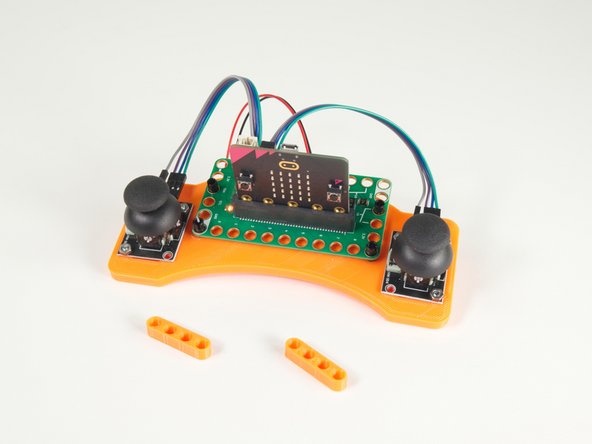
To attach the Bit Board to the remote you'll need:
-
4 x LEGO Technic Pin with Friction Ridges and Slots (2780 / 61332)
-
To attach the Thumbsticks to the Remote you'll need:
-
4 x Metric machine screws, Phillips pan head, Zinc plated steel, 3mm x 0.5mm x 10mm
-
4 x Metric hex nuts, Zinc plated class 8.8 steel, 3mm x 0.5mm
-
For the laser cut version the 10mm long screws will work perfect if you used 3mm thick material. If you used a thicker material you will need longer screws.
-
-
-
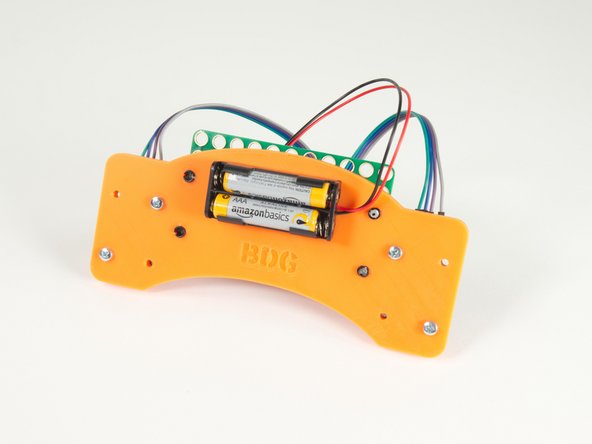
If you want to add two beams to the pins to hold the Bit Board more securely, you can print the Beam files.
-
Get the file Beam-4-Hole.stl here: https://github.com/BrownDogGadgets/3D-Pr...
-
-
-
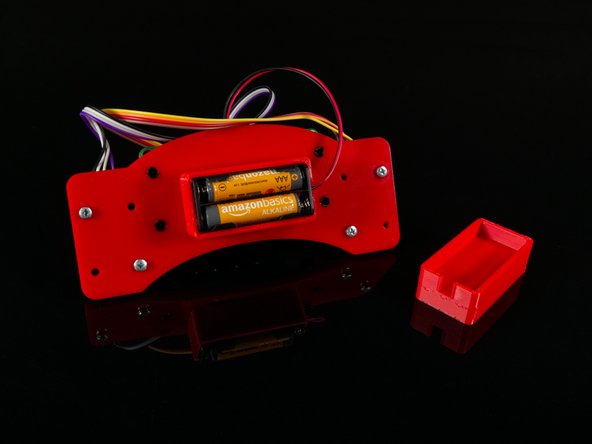
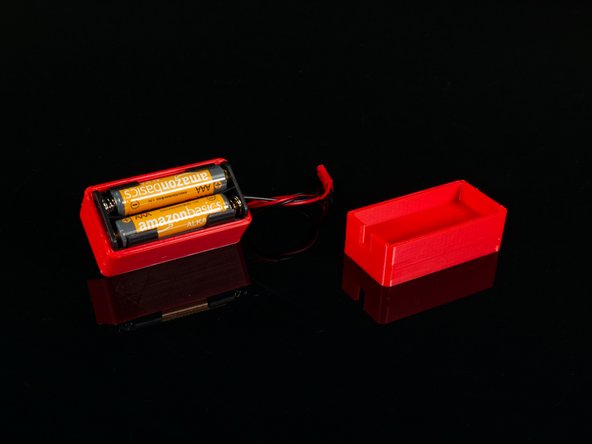
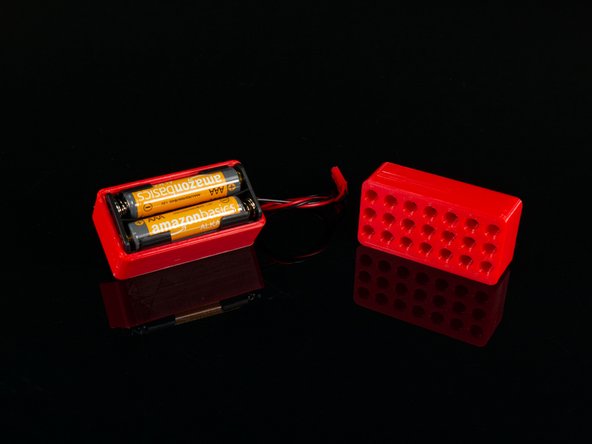
You will also need to print the 2AAA Battery Holder with Holes to power the Rover Remote.
-