Introduction
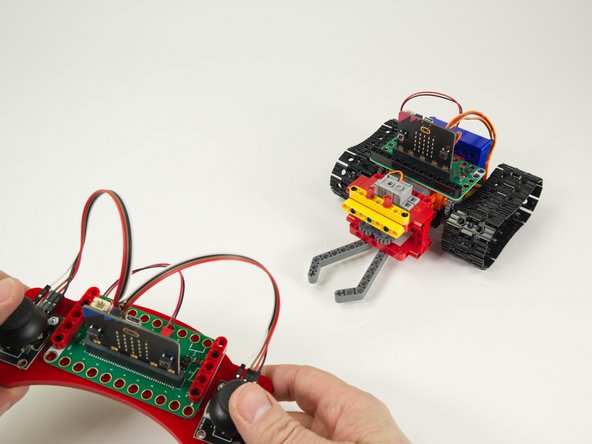
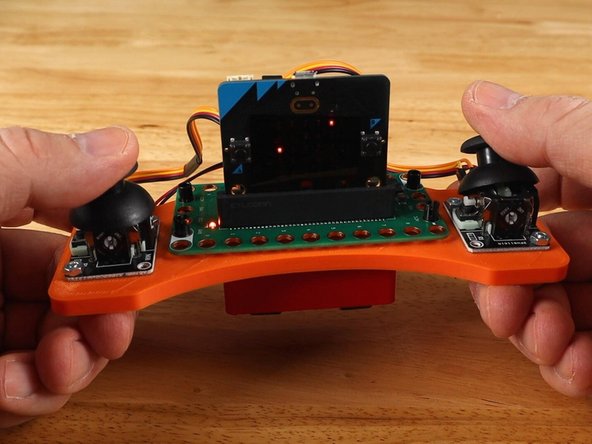
Build a remote control with two thumbsticks to control your Tank. The left thumbstick controls the left treads (forward & backward) and the right thumbstick controls the right treads. You can drive forward, reverse, or spin in either direction.
You can also manipulate the Gripper using the built-in buttons on each thumbstick to open and close the fingers. We've also made it easy to change the speed of the Tank using the A and B buttons on the micro:bit
If you want a more bare-bones remote check out our Rover Simple Remote or Rover Bluetooth Control
Video Overview
-
-
The Rover Remote can work with the Rover and the Tank, the only difference is the code that we'll load.
-
The code will control the left and right treads independently, which will allow the tank to move forward, backwards, and turn left and right. (And spin around in circles!)
-
If you have not yet built the Remote start with the guide Rover Thumbstick Remote and when you complete Step 16 come back to this guide to load the code.
-
-
-
Do you have an assembled Rover Thumbstick Remote? Great! Let's turn it into a Tank Thumbstick Remote with new code.
-
-
-
If you've never used a micro:bit before you'll want to check out this guide: Bit Board V2 Setup and Use
-
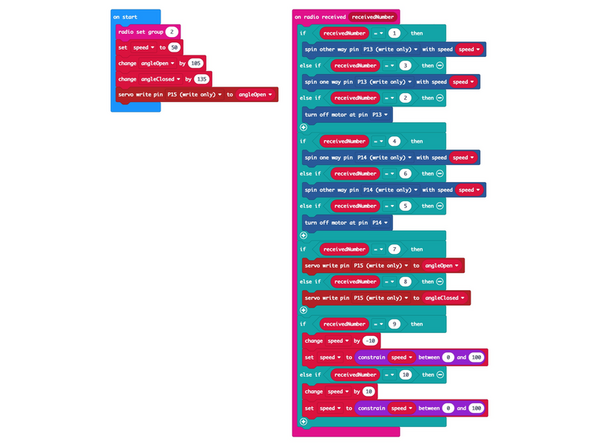
We're going to load the following code for our Tank Thumb Remote RX program: https://makecode.microbit.org/_3AD53U6m0...
-
Once you load the code it won't do anything. Since the code turns the micro:bit into a receiver it will wait until a transmitter sends data before it does something.
-
If you look at the code you'll notice the numbers 1 through 3, and 4 through 6, which we referenced in Step 1. Those are the numbers the transmitter will send to the receiver.
-
You may also notice the numbers 7 and 8, which are used to control the Gripper if you have it attached to your Tank.
-
Finally numbers 9 and 10 are used to change the speed of the Tank.
-
The RX stands for "Receiver". For the code we'll load onto the second micro:bit you'll see TX which stands for "Transmitter".
-
-
-
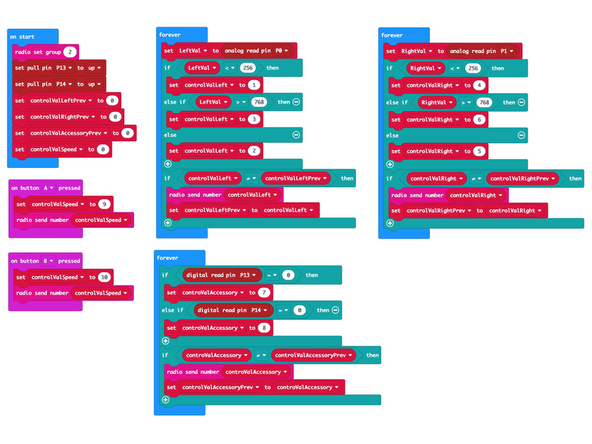
Let's load the code onto the second micro:bit so it can function as a transmitter and send control signals to the micro:bit on the Tank.
-
Load the following code: Tank Thumb Remote TX program: https://makecode.microbit.org/_bUaV7LU1D...
-
If you've got the Tank you programmed in the previous step nearby make sure it isn't powered on when you load the code on your transmitter or it may roll away when you move a thumbstick!
-
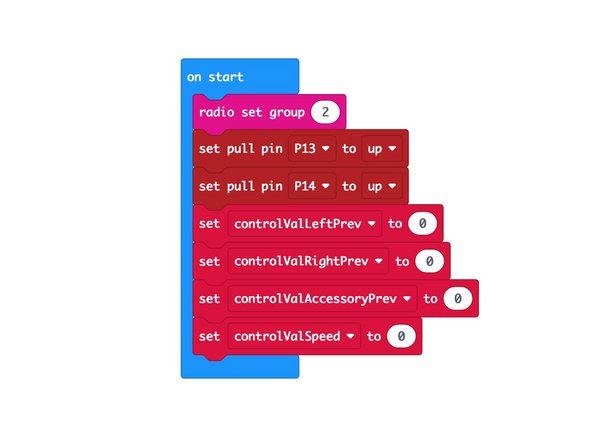
Note that we've set the radio group to 2. You can choose any number you want as long as the two micro:bits use the same number. For a classroom setting with multiple pairs you'll want each to have a different number.
-
-
-
Once you've got code loaded on both micro:bits you can test using the remote control with your Tank.
-
The left thumbstick should make the left treads move, and the right joystick should make the right treads move.
-
Note that we consider the "left" treads to be the ones on your left side if you were standing behind the Tank, not facing the Tank.
-
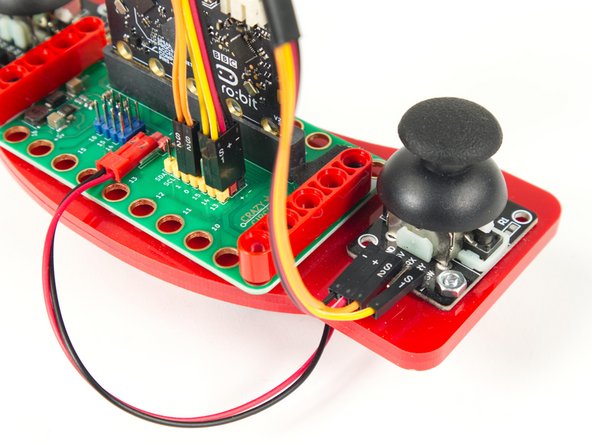
The thumbsticks are also buttons that can be pressed. Pressing each should open and close the fingers of the Gripper.
-
If you want the Tank to move slower or faster press the A or B button on the micro:bit located on the Remote Control.
-
-
-
If you have issues getting the Remote to control the Tank we've written code to test the components and wiring of the Remote.
-
See Step 20 in the Rover Thumbstick Remote guide.
-