
Introduction
A 3D Printed Tape Roll Holder for our 1/4" Wide, 20 Meter Roll of Maker Tape.
Our 1/4" wide Maker Tape is great for our paper circuits projects!
Check out all of our Tape Roll Holders:
Tools
Parts
-
-
You can download the files and print them on your own 3D Printer.
-
Find the files in our GitHub repository: https://github.com/BrownDogGadgets/3D-Pr...
-
You can also find the files on Printables: https://www.printables.com/model/232877-...
-
-
-
For Version 5 we still have the main body and four clips (like Version 4) but we've added a file to make this a two-color print if you have a multi-color 3D printer.
-
If you don't want to print in two colors just print the body and four clips as you normally would. (But the "BDG" lettering is there if you want to add it.)
-
We recommend printing the clip at a higher resolution (0.2 layer height or less) for the best quality. No support is needed.
-
You'll have the best results if you print the BDG lettering in a darker color, such as black.
-
Get the Version 5 files here: https://github.com/BrownDogGadgets/3D-Pr...
-
Or grab them from Printables: https://www.printables.com/model/232877-...
-
-
-
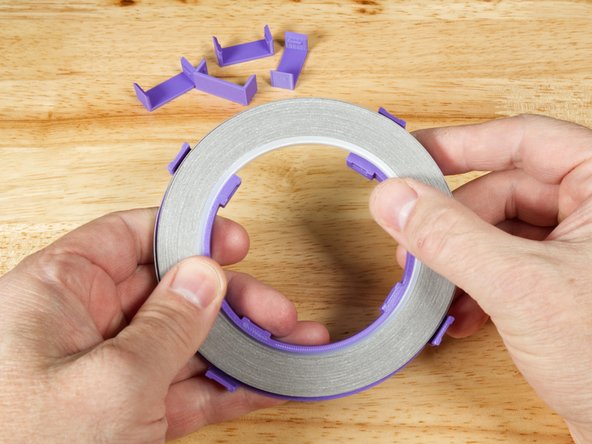
After you've printed the parts you can add a 1/4" Wide, 20 Meter Roll of Maker Tape.
-
The roll should just fit over the lip that holds it in place. If you need a bit more room to slide it in place you can just squeeze the sides of the holder inward a bit.
-
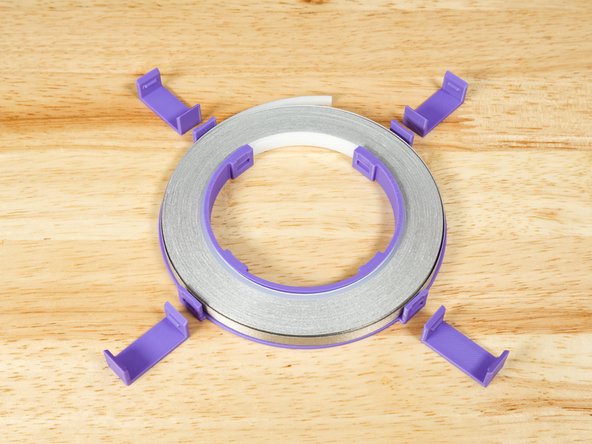
Note: Be careful not to slide the tape off of the inner core when placing it onto the holder. (See second photo.)
-
If it does start to slide off, carefully slide it back into place.
-
-
-
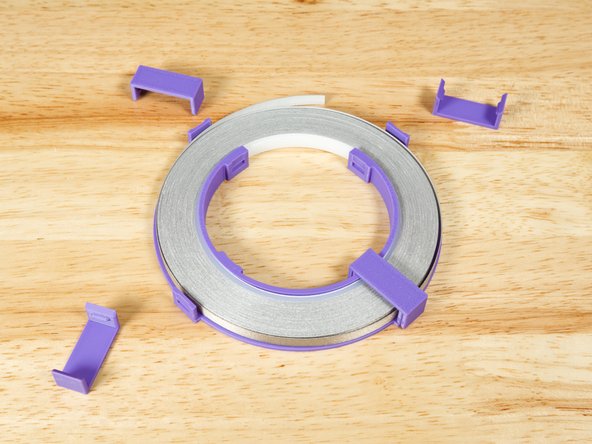
Once you have your roll of tape in place you can add the clips!
-
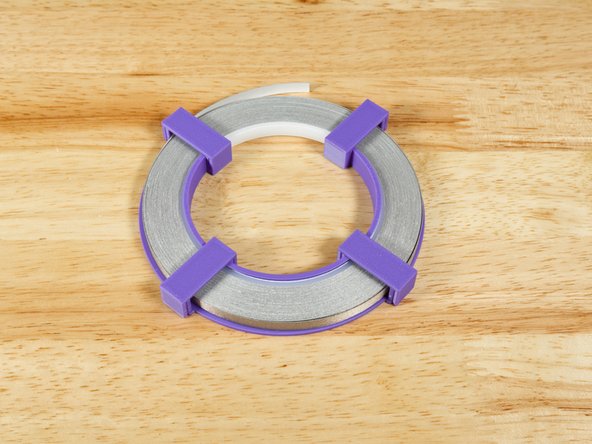
With all four clips in place you're ready to use your Maker Tape!
-
No more unspooling or messy rolls of Maker Tape! Everything is now contained and you can easily spin the spool on the holder.
-


Cancel: I did not complete this guide.
One other person completed this guide.
