Introduction
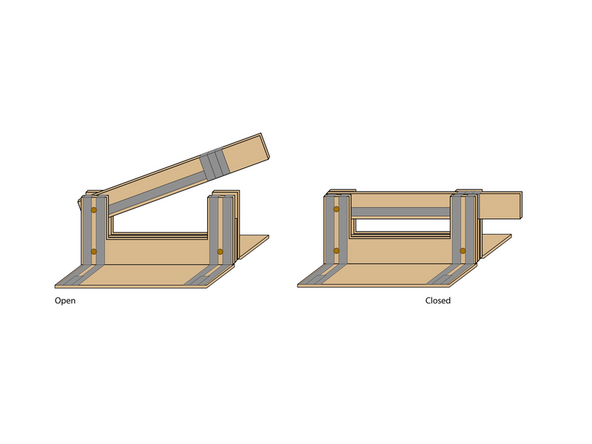
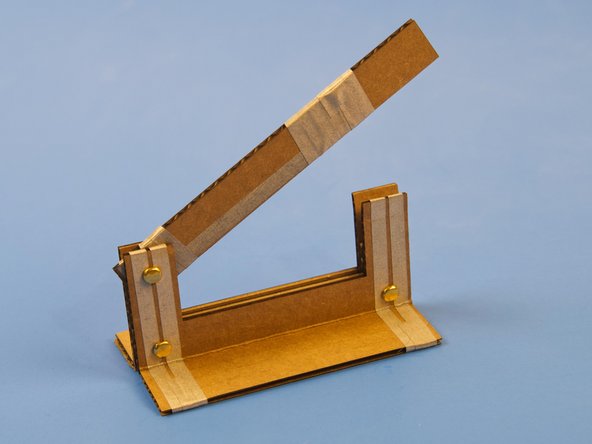
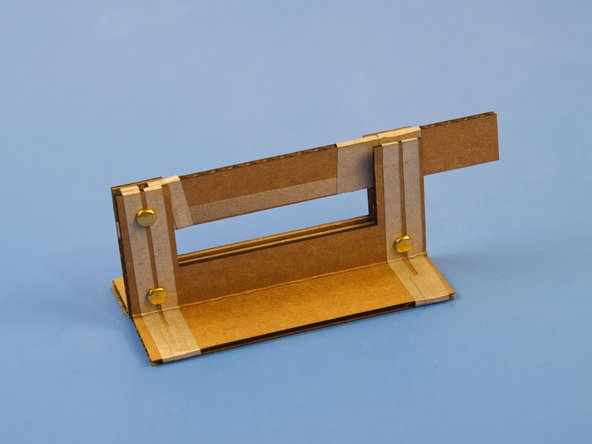
Connect a Cardboard Knife Switch to a micro:bit and NeoPixel strip to control the circuit.

-
-
Create a Cardboard Knife Switch by following the steps in this guide: Switch - Cardboard Knife Switch
-
Alternatively, you could create this same project using a different variation of the cardboard switch:
-
-
-
-
-
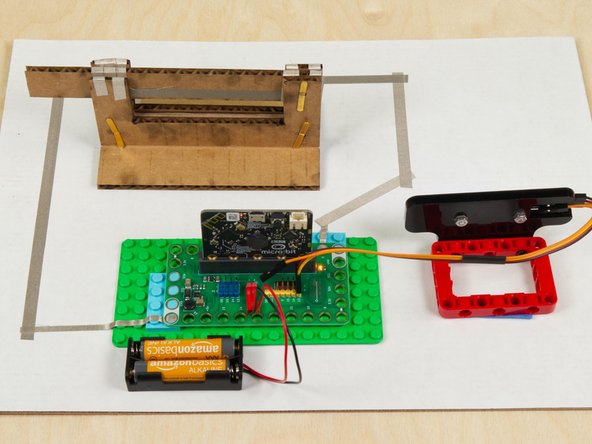
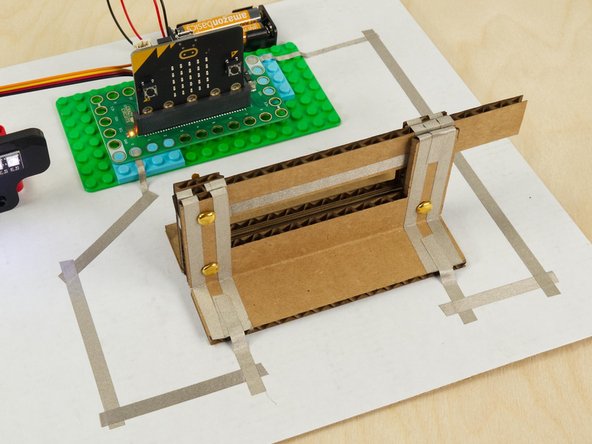
When connecting Crazy Circuits projects to paper circuits-style projects we usually stick everything down to a piece of scrap cardboard.
-
Attach the Knife Switch and a LEGO baseplate to the cardboard using regular tape.
-
The NeoPixel Strip can be connected to some LEGO technic parts and then taped down to the cardboard base to hold it in place.
-
-
-
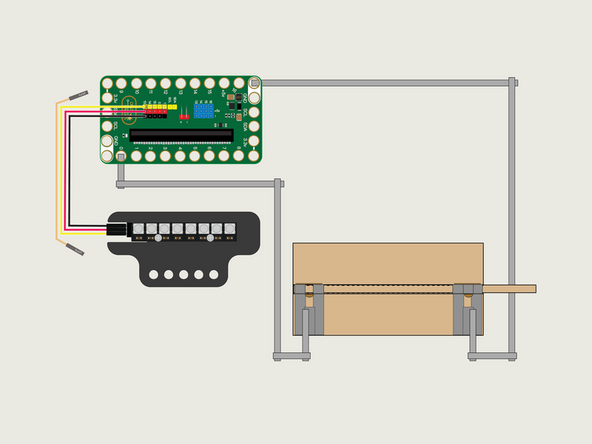
Use Maker Tape to connect one side of the Knife Switch to Pin 0 and the other side of the Knife Switch to ground.
-
We also mixed 1/4" and 1/8" Maker Tape for our connections, but if you only have 1/8" Maker Tape that should work just fine.
-
-
-
The magical thing about these “Individually Addressable” LEDs is that you don’t have to connect each LED to an individual pin on your micro:bit, you just need one signal wire along with power (Positive and Negative) to light things up.
-
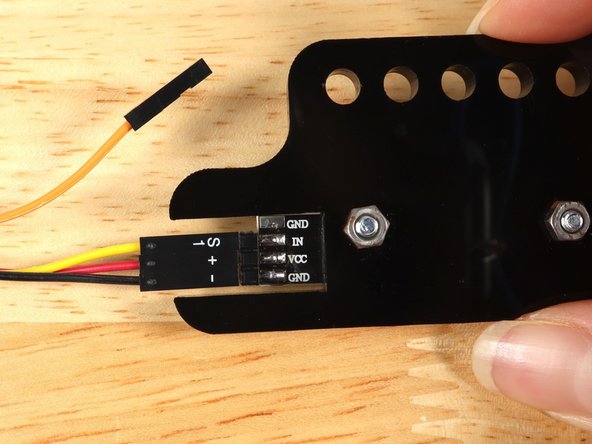
So let's get connected! If you turn the NeoPixel Strip over you'll see labels for the three pins. You should see IN, VCC, and GND.
-
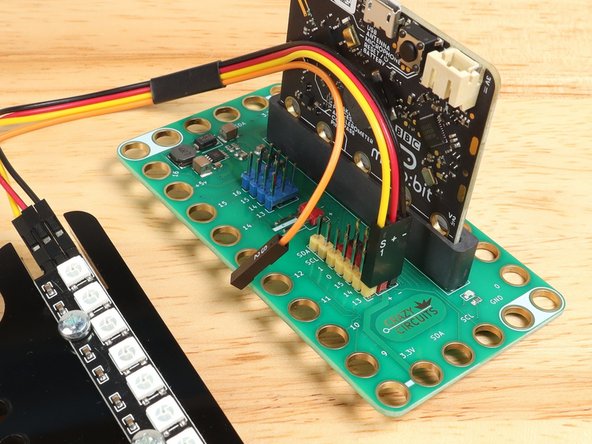
Use the Crazy Circuits Ribbon Cable to connect the NeoPixel Strip to the Bit Board.
-
The end with S1, +, and - can plug directly into the Pin 13 row (make sure S1 goes into 13) and the other end should plug into the NeoPixel Strip as shown.
-
We only need three wires for the NeoPixel Strip so you can leave S2 (the Orange wire) unconnected.
-
-
-
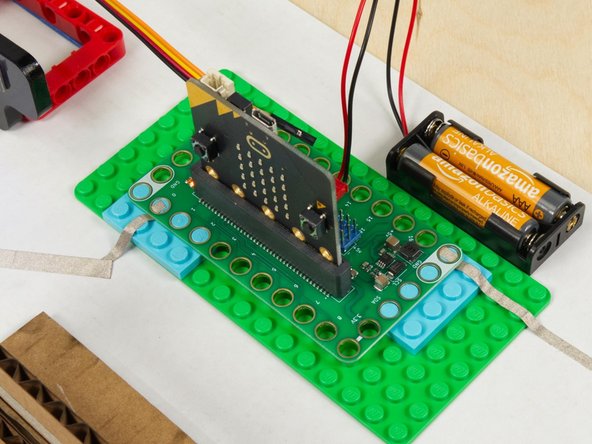
Connect the Bit Board to the LEGO baseplate making sure that the Maker Tape paths connect to Pin 0 and Ground.
-
-
-
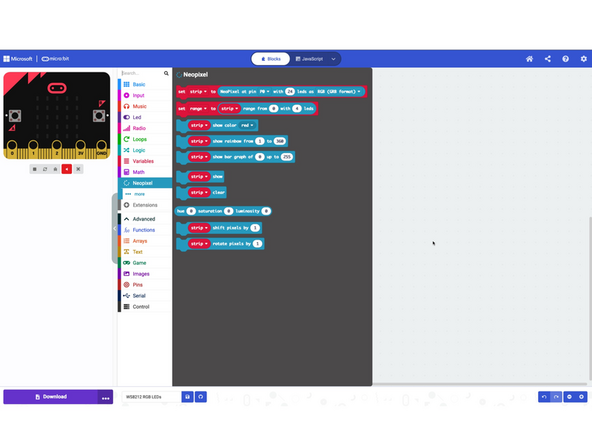
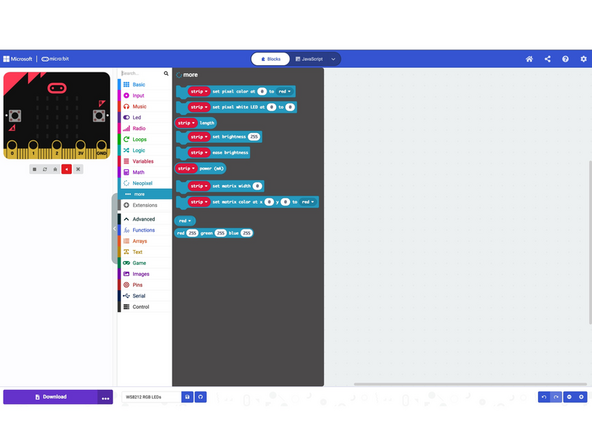
In the next step we're going to provide a link to the code for this project, but first let's look at the NeoPixel Extension for MakeCode.
-
The Extension has the basic blocks you'll need to set up the NeoPixel Addressable RGB LEDs and to control them with a micro:bit, and the Bit Board makes it very easy to connect things!
-
-
-
If you've never used a micro:bit before you'll want to check out this guide: Bit Board V2 Setup and Use
-
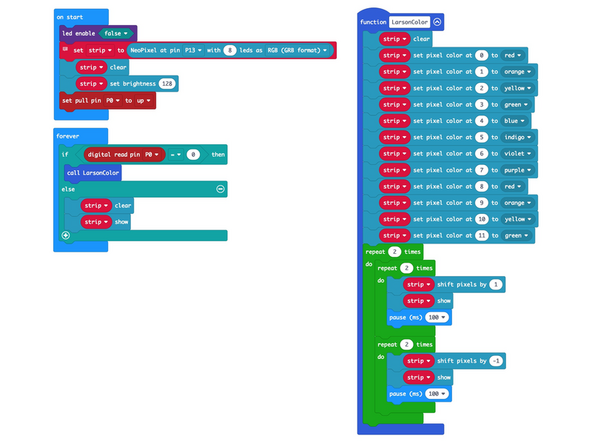
We're going to load the following code for our Knife Switch NeoPixel program: https://makecode.microbit.org/S58486-627...
-
-
-
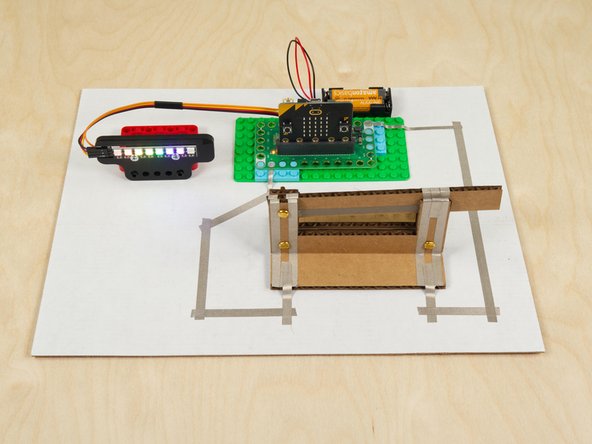
Here's the result of adding our knife switch to a Bit Board project.
-
Now we can throw the big switch to get those NeoPixels going.
-
What ideas can you come up with to connect a knife switch to a Crazy Circuits project?
-