Introduction
If you've built our Rover Main Body this is a great accessory. An easy-to-build Sweeper than can attach to the front of the Rover.
Video Overview
-
-
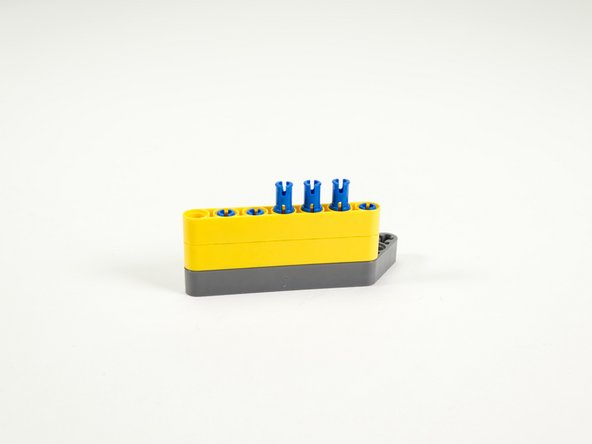
Gather the parts needed to assemble the Sweeper.
-
You'll need the parts shown along with a Brick Compatible 270 Degree Servo.
-
-
-
This build is much simpler than the Gripper. You don't have to follow the guide steps exactly for the sweeper arm, as long as you get the basic construction right.
-
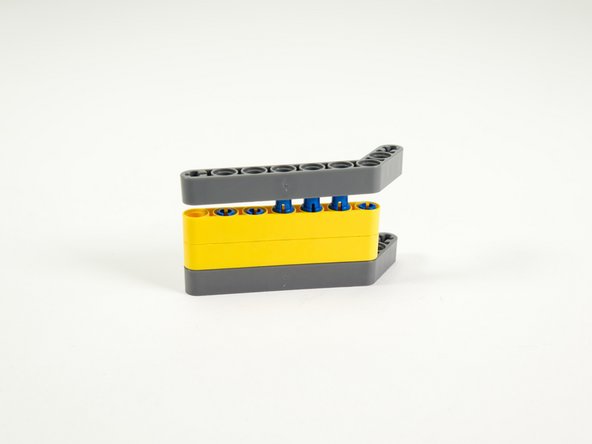
Here's a quick view of how it's put together. Jump to the next step if you want to see the step-by-step instructions, otherwise skip to Step 9.
-
-
-
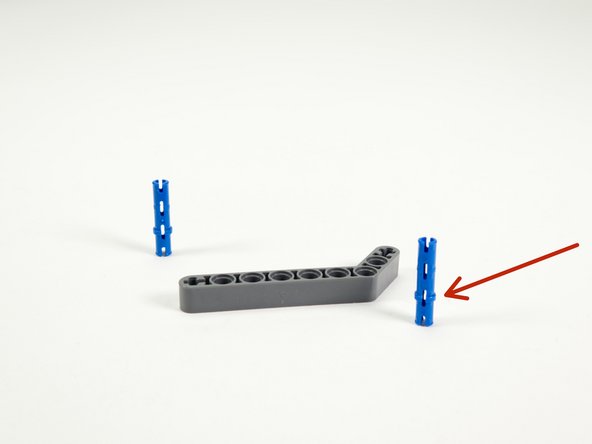
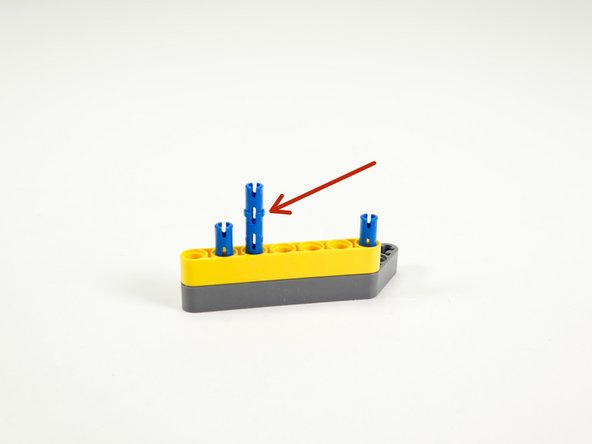
Insert two long blue pins into the gray angled beam as shown.
-
Note that the long pins have a specific orientation. The "stopper" ring is on the bottom for this step.
-
-
-
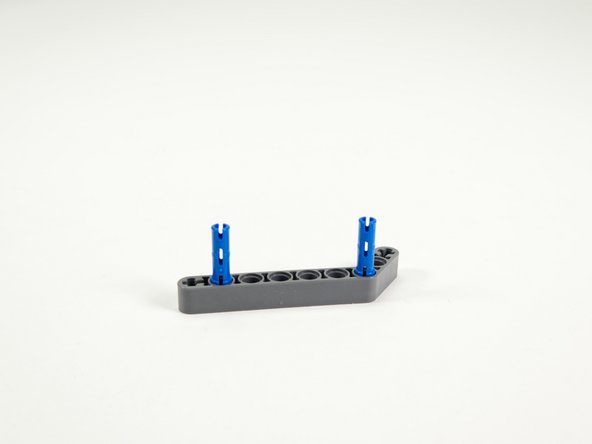
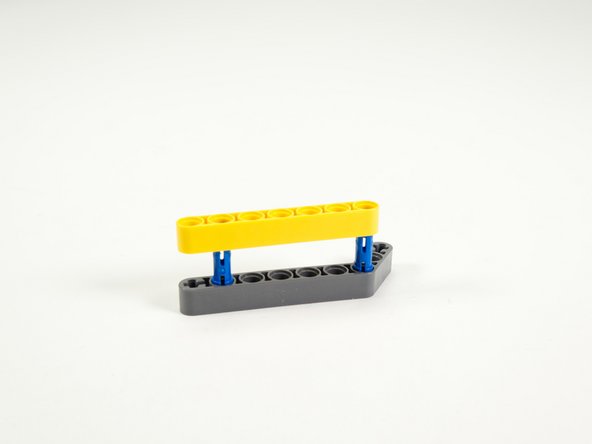
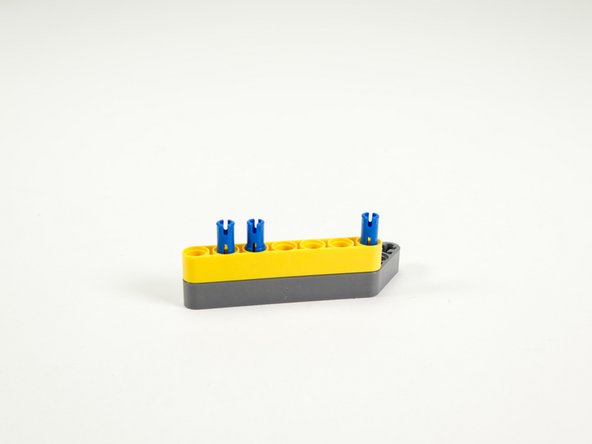
Add a 7 hole yellow beam on top of the long pins.
-
Press it down against the angled gray beam on the bottom.
-
-
-
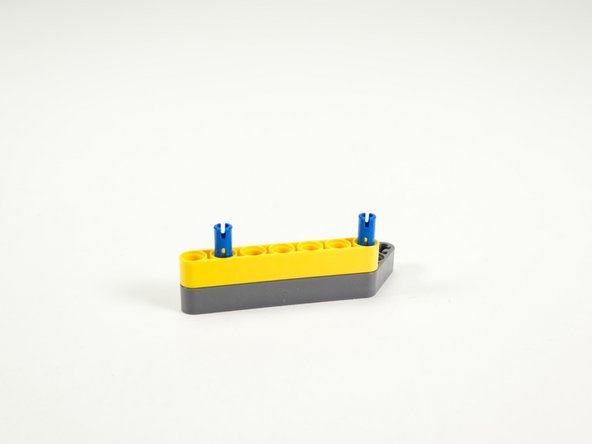
Add another long blue pin. This one goes just to the right of the leftmost pin.
-
Note that this one is inverted when inserted, so the stopper ring is on the top side.
-
-
-
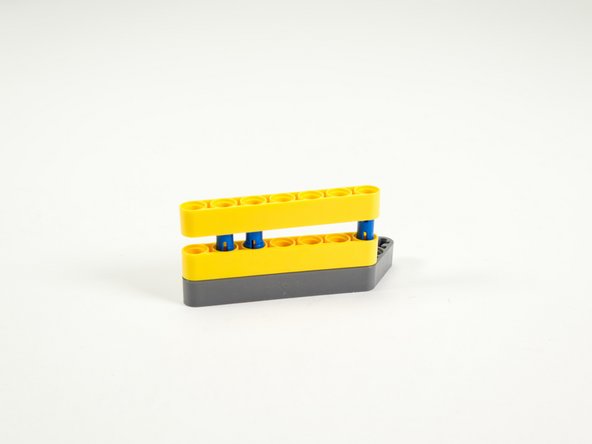
Add a second yellow 7 hole beam on top of the first one.
-
Press it down onto the pins so it fits tight against the beam below it.
-
-
-
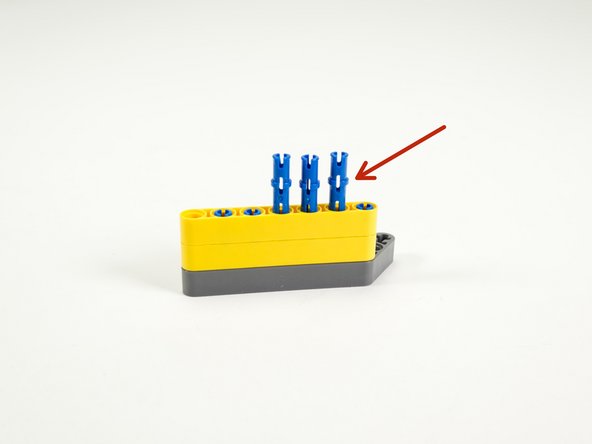
Add three more long pins.
-
Insert these so the stopper ring is on the top part. This ensures the pins go through both of the beams we've added.
-
Two pins is probably enough but we added three for good measure!
-
-
-
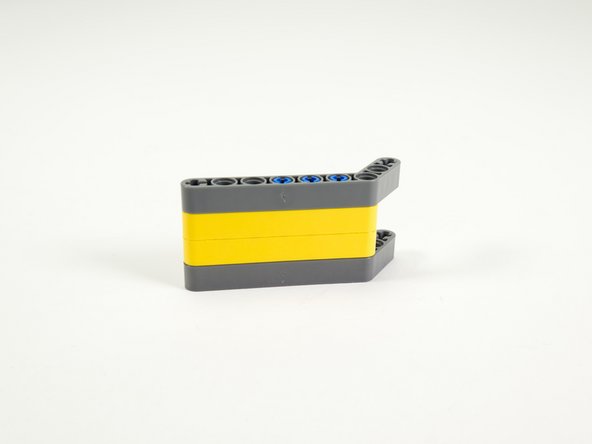
Finally, add the top gray angled beam, pressing it onto the pins so it fits tight against the beam below it.
-
-
-
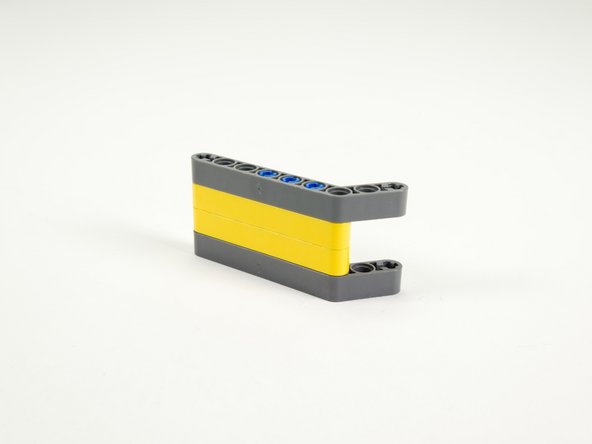
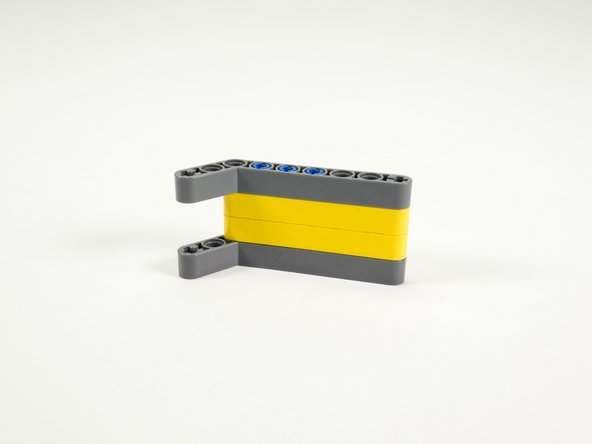
The arm portion of our Sweeper is now complete, and should look like this.
-
-
-
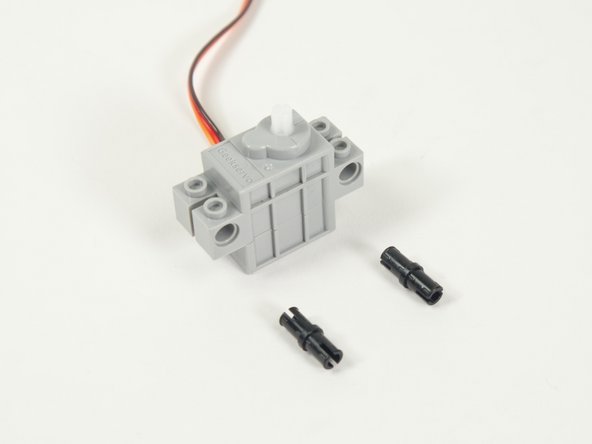
Now let's prepare our servo.
-
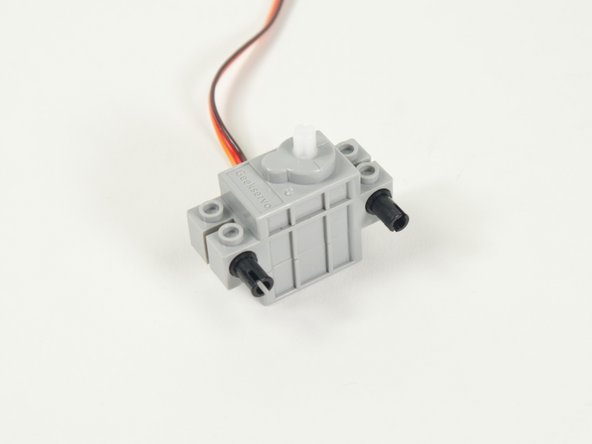
Add two black pins to the servo.
-
Make sure you add the pins to the side of the servo opposite where the wires are connected.
-
-
-
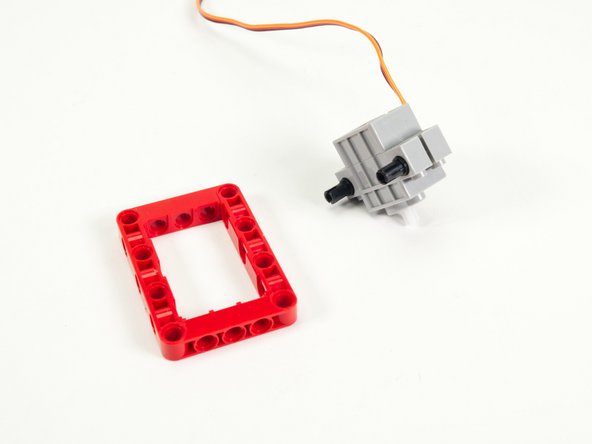
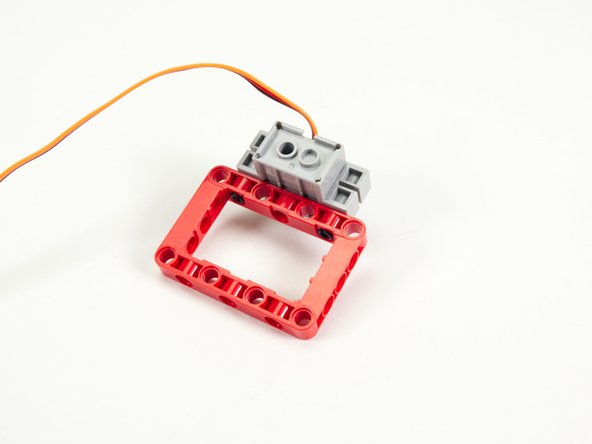
Attach the servo to the red frame using the black pins we just added, centering it so the pins and holes align.
-
Note that the servo wire should face forward, opposite the frame.
-
-
-
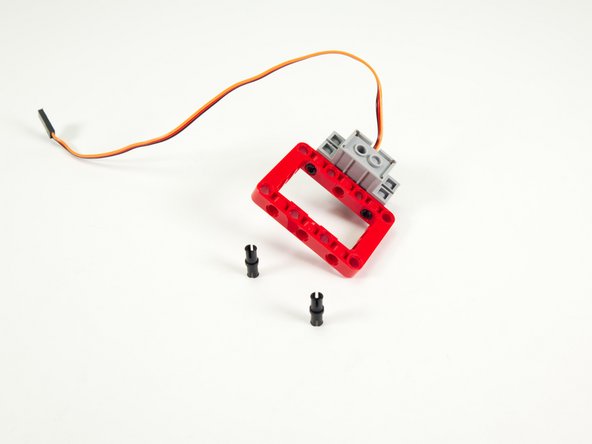
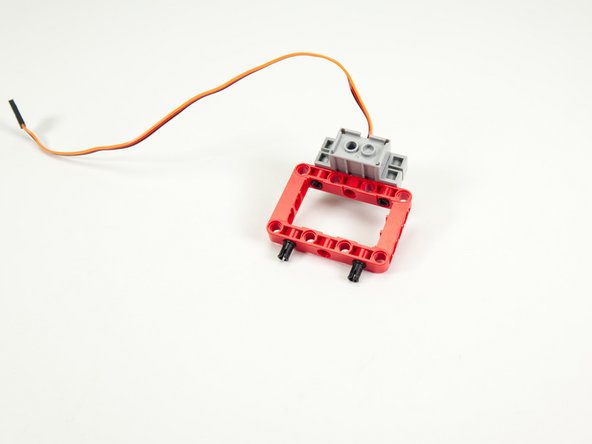
Add two short pins to the frame, opposite the servo.
-
These pins will allow us to attach the Sweeper to the Rover.
-
-
-
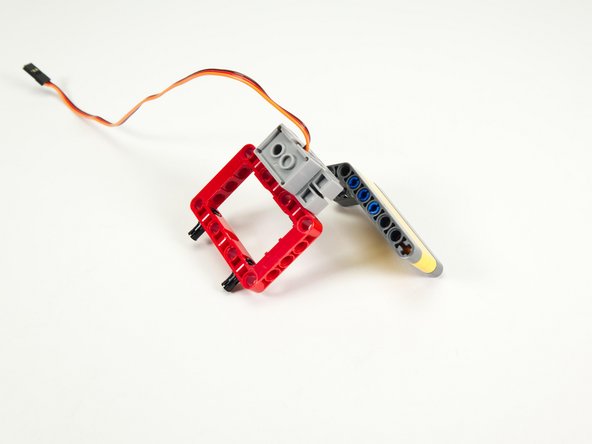
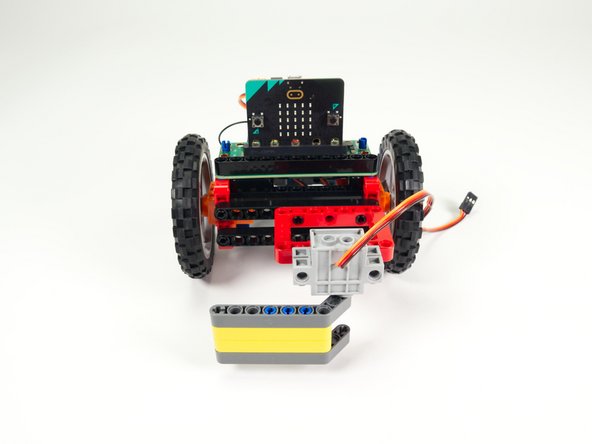
Attach the sweeper arm to the servo as shown.
-
Note that we may need to adjust how the arm is attached when we load the code, as it will depend on the angle of the servo, but for now we just want to attach it.
-
-
-
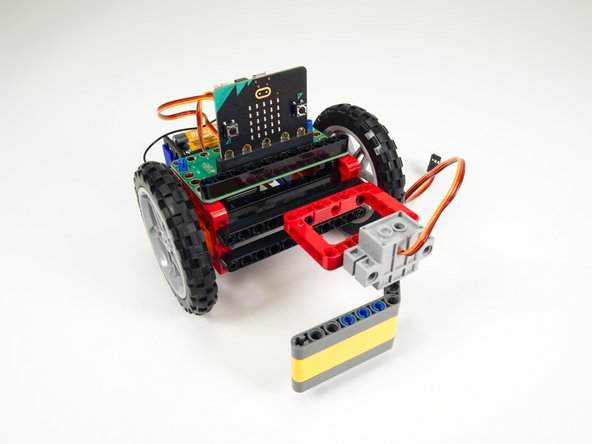
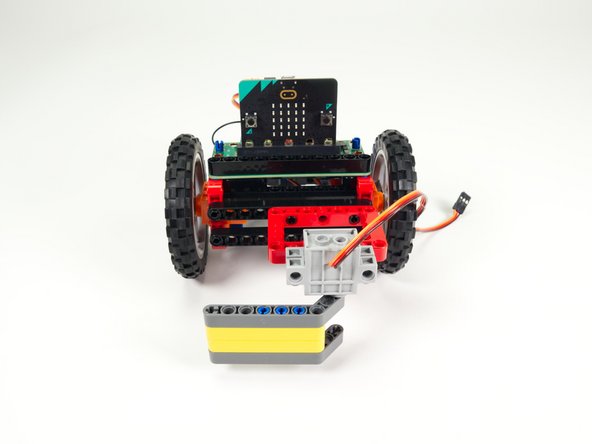
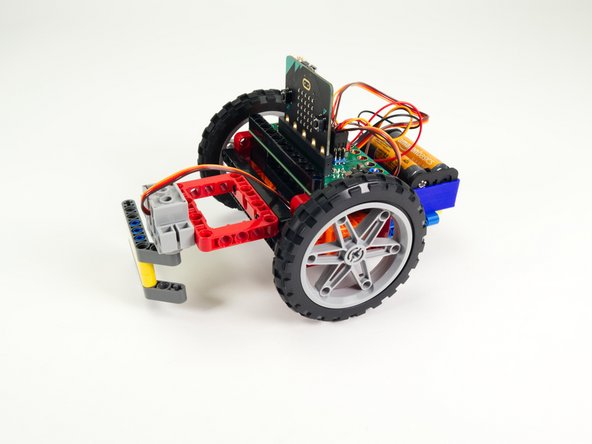
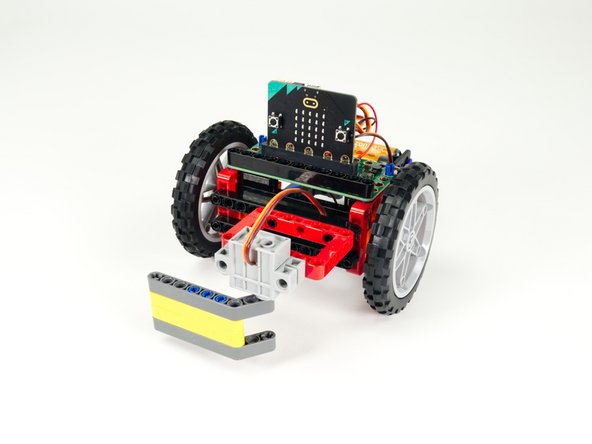
Attach the Sweeper to the top beam on the front of the Rover.
-
While we can center it when attaching it (like we did for the Gripper and the Lifter) it may work better to position it over to the side, since the Sweeper itself is offset to the opposite side. This helps center the Sweeper Arm more towards the center of the Rover.
-
-
-
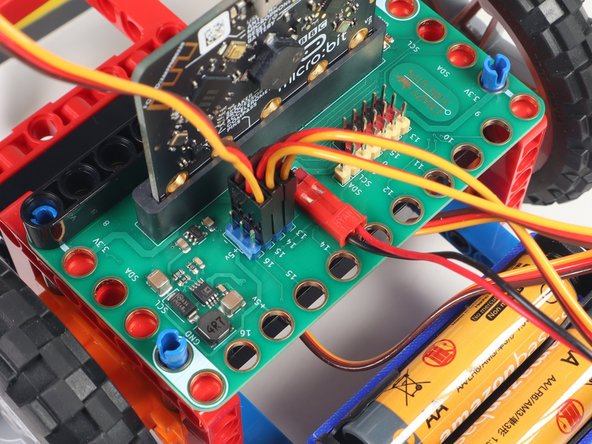
Plug the servo connector into the row for Pin 15. The orange wire should go to the pin closest to the 15 on the board, the red wire goes into the +5v row, and the brown wire goes into the - row, which is ground.
-
All servos should go to the 5V Blue Pins.
-
-
-
If you've never used a micro:bit before you'll want to check out this guide: Bit Board V2 Setup and Use
-
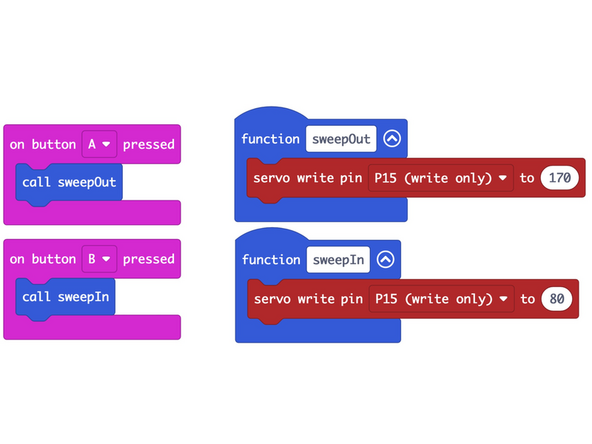
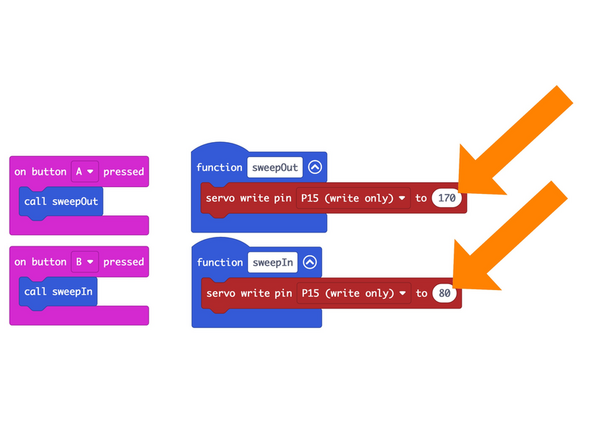
We're going to load the following code for our Sweeper Test Code program: https://makecode.microbit.org/_TVfMMrCJz...
-
This code is very simple, and is just meant to test the Sweeper.
-
When you press the A button on the front of the micro:bit it should move the Sweeper forward.
-
When you press the B button on the front of the micro:bit it should move the Sweeper back into the home position.
-
-
-
To test the Sweeper first plug in the Battery Pack to power the Bit Board.
-
Press the B button and then the A button. Make sure the Sweeper moves to two different positions.
-
-
-
You can remove the arm and reposition it if the angles are not quite right.
-
If that still doesn't work, just experiment with changing the values in the code.
-
-
-
If you've got a Rover Thumbstick Remote you can use the following code to control the Rover and Sweeper.
-
Load the Rover code for the Thumb Remote Sweeper TX onto the micro:bit on the Remote: https://makecode.microbit.org/_Rz1KCyRdR...
-
And load the Rover Thumb Remote Sweeper RX onto the micro:bit on the Rover: https://makecode.microbit.org/_94DRxrY59...
-
Once the code is loaded you can drive around your Rover and sweep things!
-
-
-
Once you've got the Rover Remote working with the Rover and Sweeper you can practice driving up to a ball and kicking it.
-
Remember, the A button and B button on the Rover Remote can be used to decrease and increase speed when driving the Rover.
-
You may find that slowing down to approach an object makes it much easier to get into position to Sweep it.
-
-
-
The Rover Sweeper is quite different from the Rover Gripper and the Rover Lifter so each has strengths and weaknesses when moving or manipulating objects.
-
Watch for more guides for all of the accessories, as well as new ones we might come up with!
-